Knowledgebase
Search Articles
Categories
How To Manage Users In WordPress
Section 1: How To Navigate To The User Section in WordPress
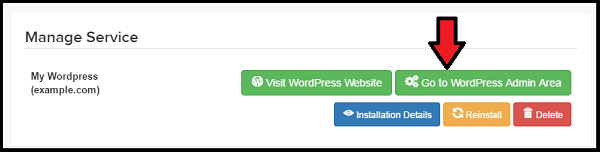
Click on the WordPress tab within your CHI account, as seen in the thumbnail below:

2. Select the domain associated with your WordPress account.
3. Click the button titled “Go To WordPress Admin Area”.
4. You can also navigate to example.com/wp-admin, replacing “example.com” with your actual domain, to reach your WordPress Admin area.
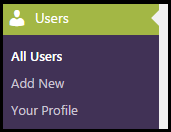
5. Once on the WordPress Admin page, click on the “Users” tab and then click the “All Users” button to manage the users associated with your account.
Section 2: How To Add Users
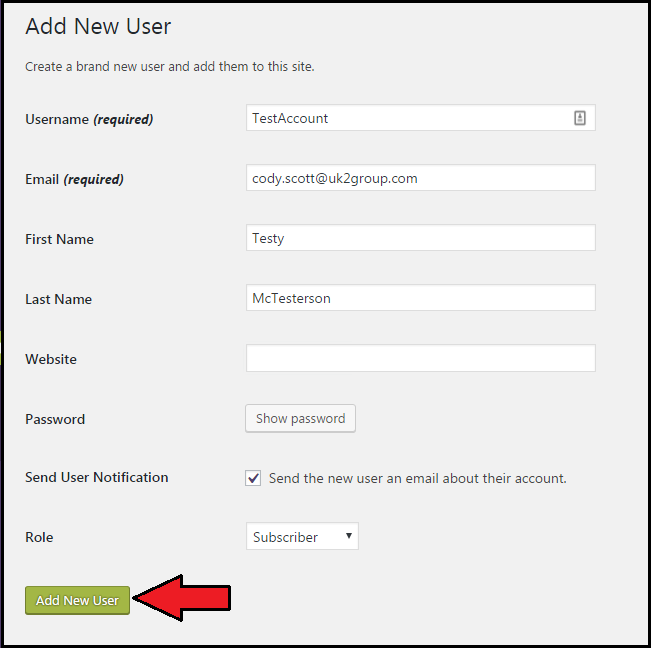
From the “Users” section, click on the “Add New” button. This button can be found at the top of your screen as seen in the thumbnail below.

2. Fill in all of the required fields, including Username, Email, First Name and Last Name.
3. Generate a password for the user you are creating by clicking the “Show Password” button.
4. Tick the box next to “Send the new user an email about their account” to automatically send all important user information to the email address associated with the new user account.
5. Select a role for the user. If you are unsure what each role entails, below you will find a detailed explanation of each available role in WordPress:
Subscriber: The basic user type. This user can change their own account information and leave comments.
Editor: This role can manage, edit, publish and unpublish posts.
Author: This user role can write and publish their own posts.
Contributor: This user can write posts, but cannot publish them. Posts will instead be submitted for review.
6. Click “Add New User” to save all new changes to your WordPress Admin account.
Section 3: How To Edit or Delete Users
You also have an edit/delete users option in WordPress. Simply hover over their username with your mouse to see the options.

2. If you select “Edit” you will be taken to a page containing account information. You can change various options within the user section.
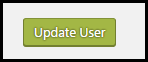
3. When you’ve finished editing the material, click “Update User” to save the settings.
If you have any questions about this or any other task please visit the WordPress help forum, or contact our support staff by opening a chat or creating a ticket.
Related Articles
Optimised Wordpress HostingWhat is WordPress
How To Write A Blog Post In WordPress
Can’t Find what you need?
No worries, Our experts are here to help.