Knowledgebase
Back to Making Email Work For You


How to Change An Email Forwarder Into an Email Account
How To Enable Two-Factor Authentication
How To Use The Calendar In WebMail
How To Create A WebMail Signature
In this section, we will walk you through creating an email account for your domain. Please ensure you have pointed your domain to the CHI Nameservers and/or your MX record is using the correct DNS settings.
Step One:
Log into your UK2 CHI account here - https://chi.uk2.net/
Step Two:
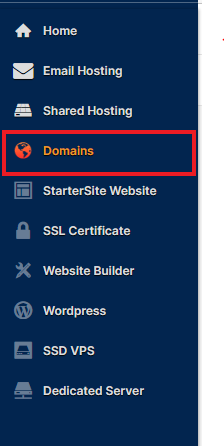
Navigate to the ‘Domains’ tab located on the left-hand side of your CHI Dashboard.
Step Three:
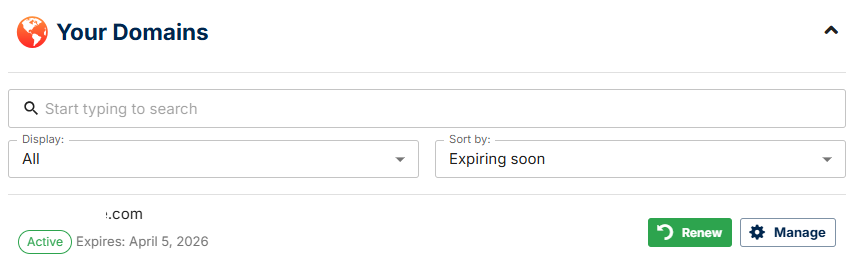
Click Manage next to the domain you wish to create the email account on.
Step Four:
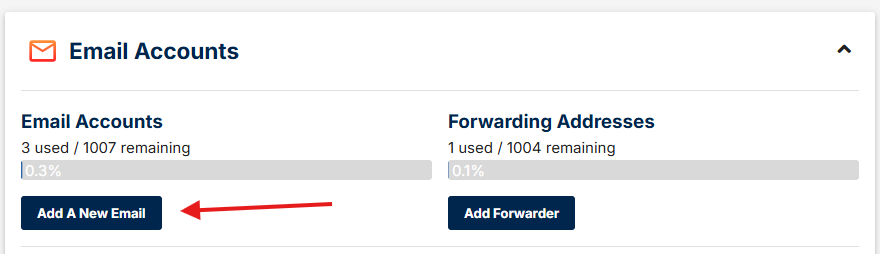
Under the "Email Accounts" section click Add A New Email
Step Five:
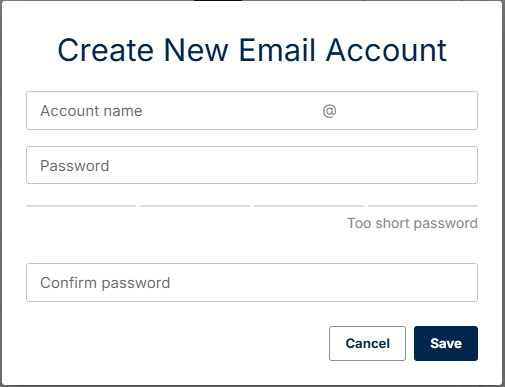
Enter your chosen account name, and password then confirm your password in the box provided. Once done, click “Save”.
You have now created your new email account and this will be displayed inside the ‘Email’ section within your CHI account.
Note: It can take up to 30 minutes for new email accounts to start receiving mail
Related Articles
How To Create An Email Forwarder In CHIHow to Change An Email Forwarder Into an Email Account
How To Enable Two-Factor Authentication
How To Use The Calendar In WebMail
How To Create A WebMail Signature
Can’t Find what you need?
No worries, Our experts are here to help.